Spring Boot 大家都知道是啥吧?
顺便再往下看,今天博主给你带来年轻人的第一个 Spring Boot 工程,撸码史无前例的轻松,那就一个字:爽!
第一步
打开这个网站,快速生成一个 Spring Boot 项目。
废话不说,看下图,几秒搞定!
第二步
解压生成的 demo 项目,导入到 IDE 中。
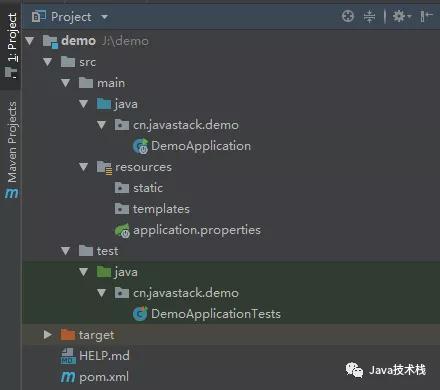
来看下 pom.xml 文件内容:
<?xml version="1.0" encoding="UTF-8"?>
<project xmlns="http://maven.apache.org/POM/4.0.0" xmlns:xsi="http://www.w3.org/2001/XMLSchema-instance"
    xsi:schemaLocation="http://maven.apache.org/POM/4.0.0 http://maven.apache.org/xsd/maven-4.0.0.xsd">
    <modelVersion>4.0.0</modelVersion>
    <parent>
        <groupId>org.springframework.boot</groupId>
        <artifactId>spring-boot-starter-parent</artifactId>
        <version>2.1.5.RELEASE</version>
        <relativePath/> <!-- lookup parent from repository -->
    </parent>
    <groupId>cn.javastack</groupId>
    <artifactId>demo</artifactId>
    <version>0.0.1-SNAPSHOT</version>
    <name>demo</name>
    <description>Demo project for Spring Boot</description>

    <properties>
        <java.version>1.8</java.version>
    </properties>

    <dependencies>
        <dependency>
            <groupId>org.springframework.boot</groupId>
            <artifactId>spring-boot-starter-web</artifactId>
        </dependency>

        <dependency>
            <groupId>org.springframework.boot</groupId>
            <artifactId>spring-boot-starter-test</artifactId>
            <scope>test</scope>
        </dependency>
    </dependencies>

    <build>
        <plugins>
            <plugin>
                <groupId>org.springframework.boot</groupId>
                <artifactId>spring-boot-maven-plugin</artifactId>
            </plugin>
        </plugins>
    </build>

</project>
以及 DemoApplication 入口类内容:
@SpringBootApplication
public class DemoApplication {

    public static void main(String[] args) {
        SpringApplication.run(DemoApplication.class, args);
    }

}
这里不作过多介绍。
第三步
添加年轻人的第一个 Spring Boot 请求:/hello.
修改 DemoApplication 添加一个请求方法,修改后的代码内容如下:
@RestController
@SpringBootApplication
public class DemoApplication {

    public static void main(String[] args) {
        SpringApplication.run(DemoApplication.class, args);
    }

    @GetMapping("/hello")
    public String hello() {
        return "hello";
    }

}
第四步
运行 Spring Boot 应用,在 IDE 中运行 DemoApplication main 方法即可。
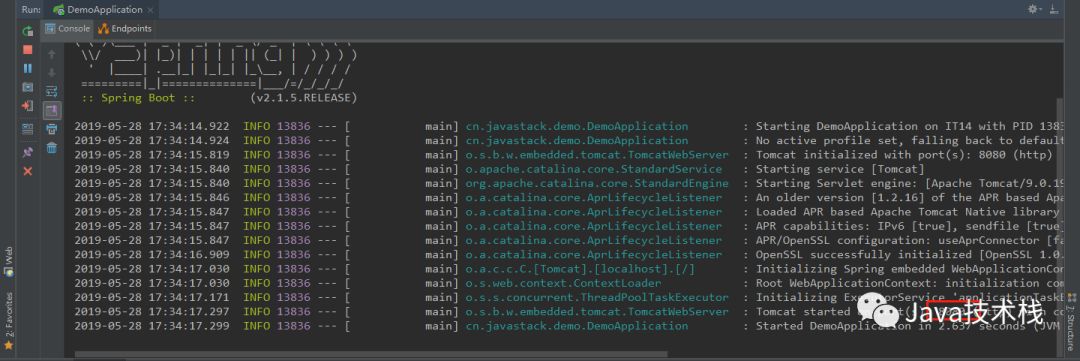
如图所示,程序已经启动,牛逼啊,2秒多就启动起来了,爽。。。它能跑起来,是因为内置了 Tomcat 容器,当然你也可以替换或者自定义配置,
第五步
访问 /hello 请求,在浏览器中访问以下链接:
如下图所示,页面输出了hello.
总结
我就在官网生成一个 demo 项目,然后导入到 IDE 中,写几行代码后输出:hello,开启了年轻人的第一个 Spring Boot 项目。
全程下来,我就只用几分钟,然后只加了 5 行代码,没有其他乱七八糟的 XML 配置,这叫一个爽。